
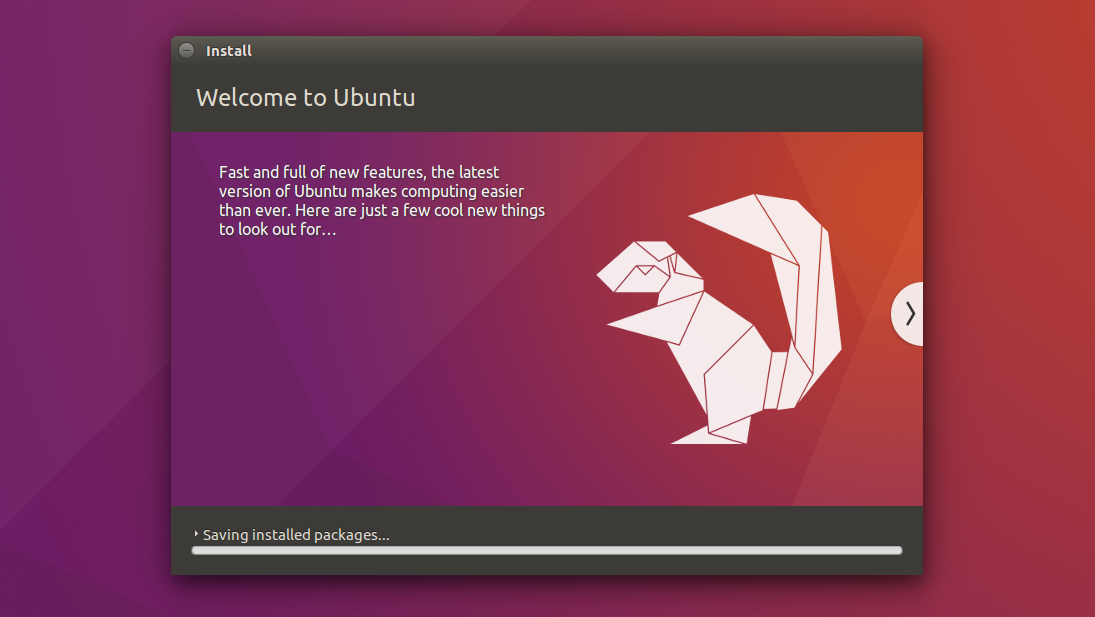
Codenamed ‘Xenial Xerus’, Ubuntu 16.04 will be the 6th Long Term Support release of the hugely popular open-source operating system. The first LTS was released in June 2006. Ubuntu 16.04 Xenial Xerus will include the Unity 7 desktop, Linux Kernel 4.4, and a host of updated applications.
Ubuntu 16.04 Release Date
Xenial xerus release date
The release date for Ubuntu 16.04 has been posted on the Ubuntu Wiki, along with the date of the development milestones needed to get it there.
Prior to the final stable release on April 21, the regular version of Ubuntu (i.e. the one using Unity) will make a few fleeting appearances over the six month dev cycle. It will take part in second Beta 2 pencilled in for March 24, 2016, and the release candidate.
Ubuntu’s family of flavours, which includes Ubuntu MATE, do take advantage of all the testing opportunities at hand, with two alpha, two betas and a release candidate set.
- Alpha 1 – December 31st (for flavours)
- Alpha 2 – January 28th (for flavours)
- Feature Freeze — February 18th
- Beta 1 – February 25th (for flavours)
- UI Freeze — March 10th
- Final Beta – March 24th
- Kernel Freeze — April 7th
- Release Candidate – April 14th
The final release date of Ubuntu 16.04 Xenial Xerus is set for:
- Ubuntu 16.04 LTS Final – April 21st
Step 1 : you must create a bootable for ubuntu linux, check in this page
Step 2 : Click on Icon “Install Ubuntu 16.04 LTS”
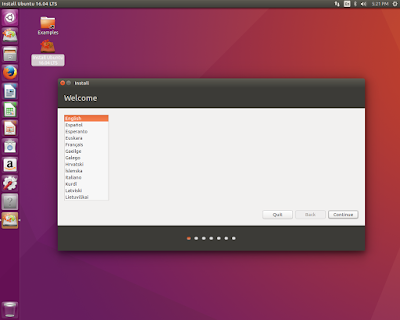
Step 3 : Click Continue to next step.
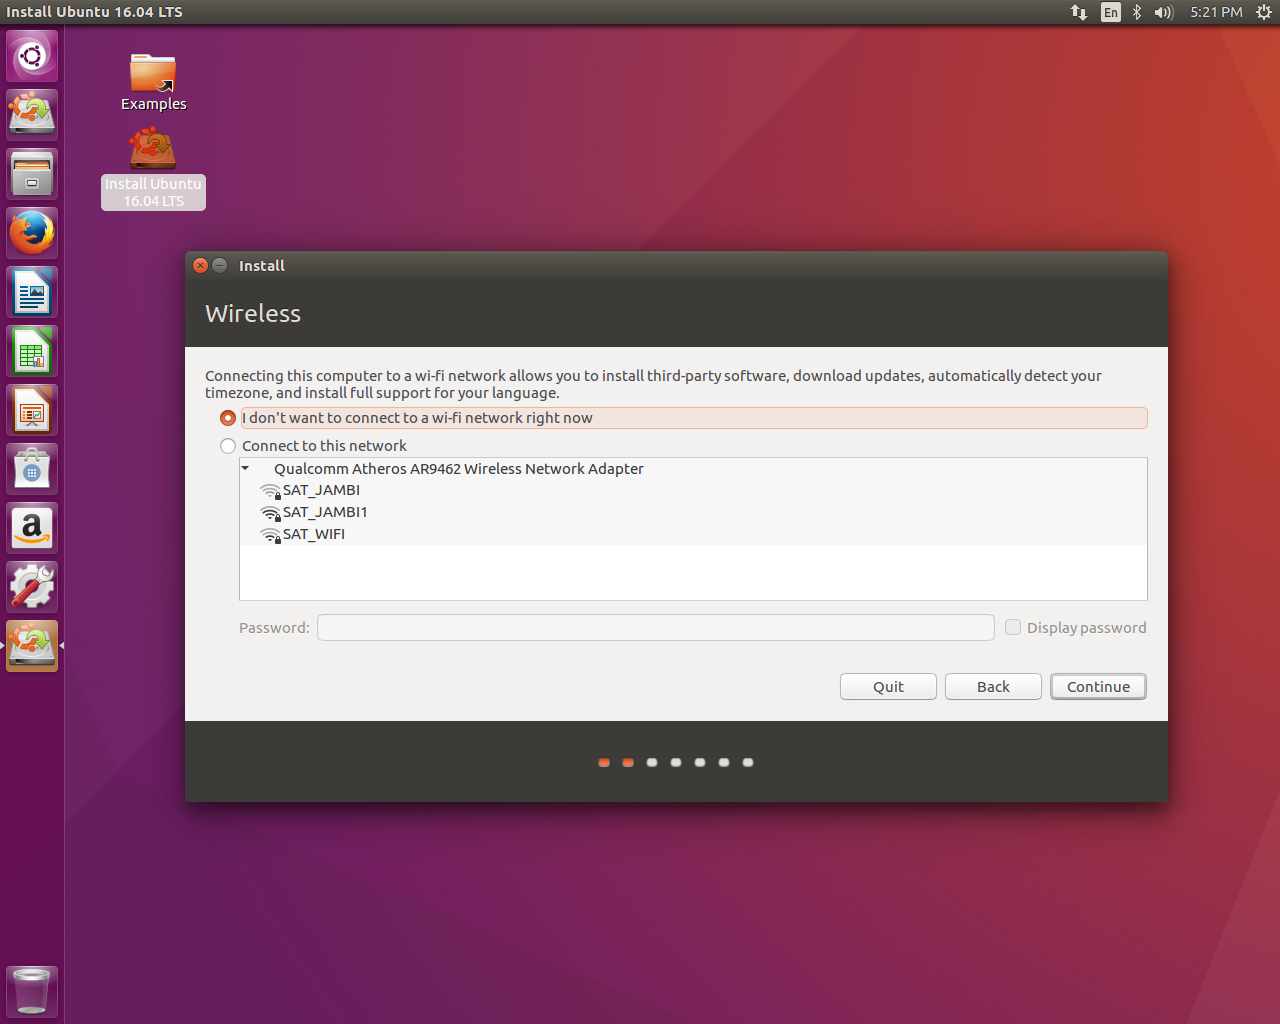
Step 4 : choose ” i don’t want to connect to a wifi newtwork right now ” or ” conect to this network for update automatic.
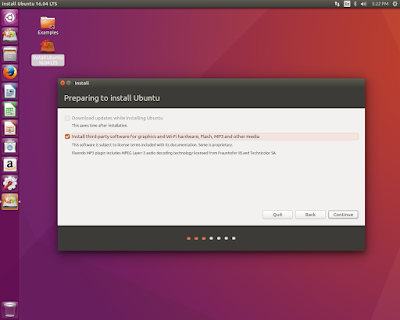
Step 5 : Check “install third party software and wifi hardware” for complete add ons installation.
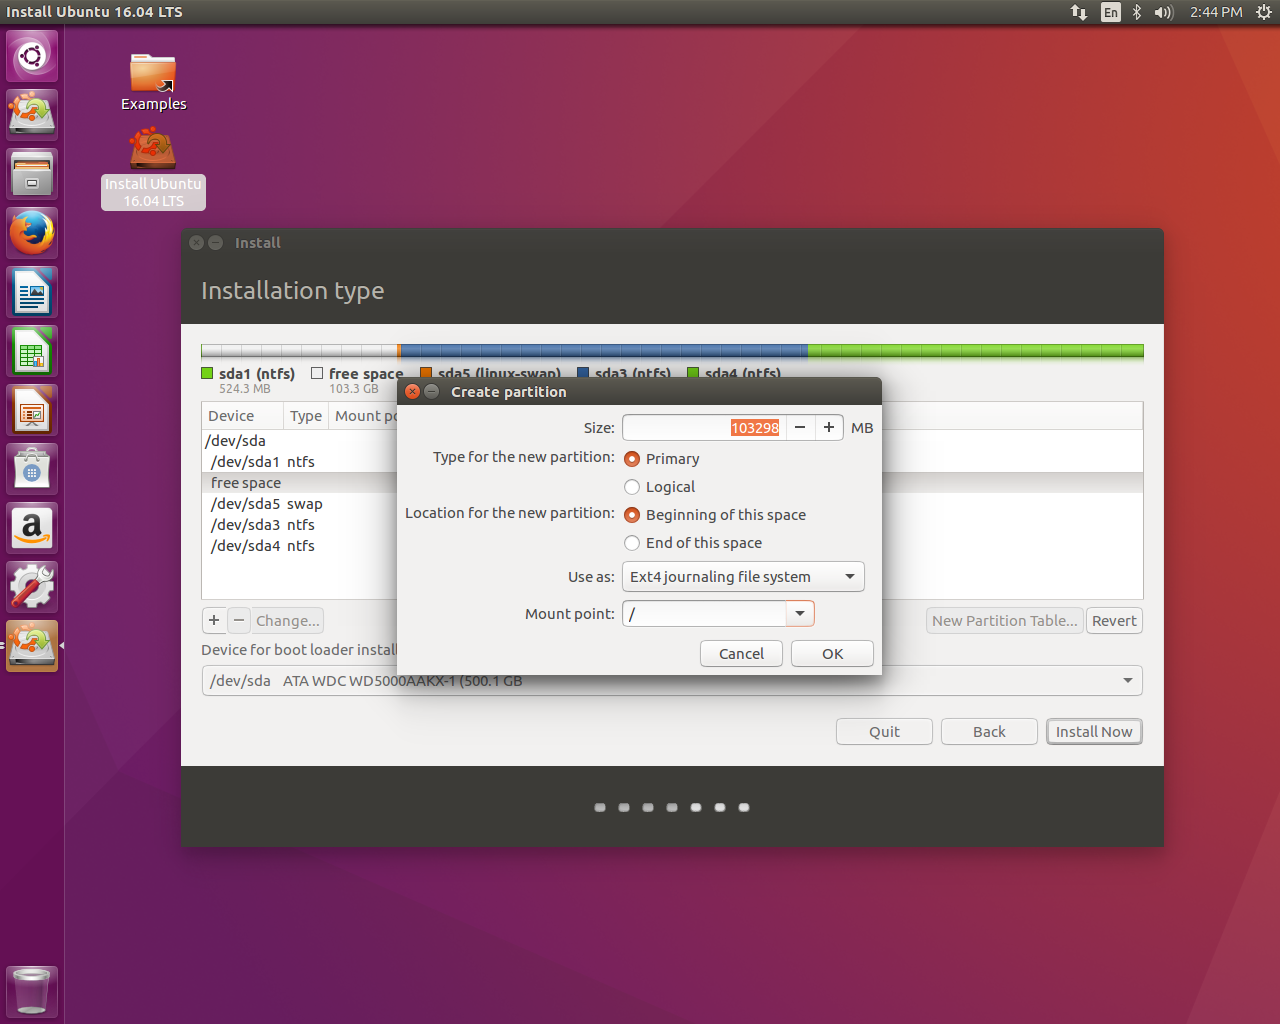
Step 6 : Now partition your disk, for that there are two ways
( 1) Let the Operating System to create the partition – OS will be automatically created partition depending on the disk size.
( 2) Create your own partition.
( 3) Choose “something else”

Step 7 : Delete partiton and choose label use as : EXT 4 file system and mount point : /
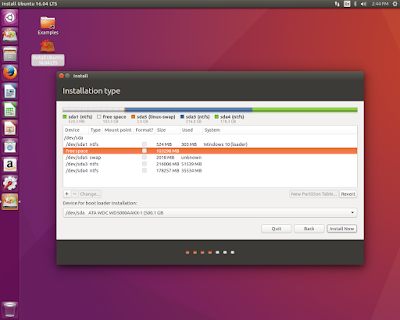
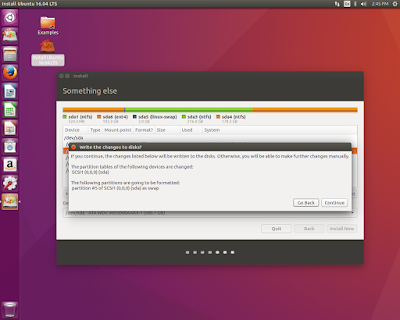
and Continue for writeable HDD
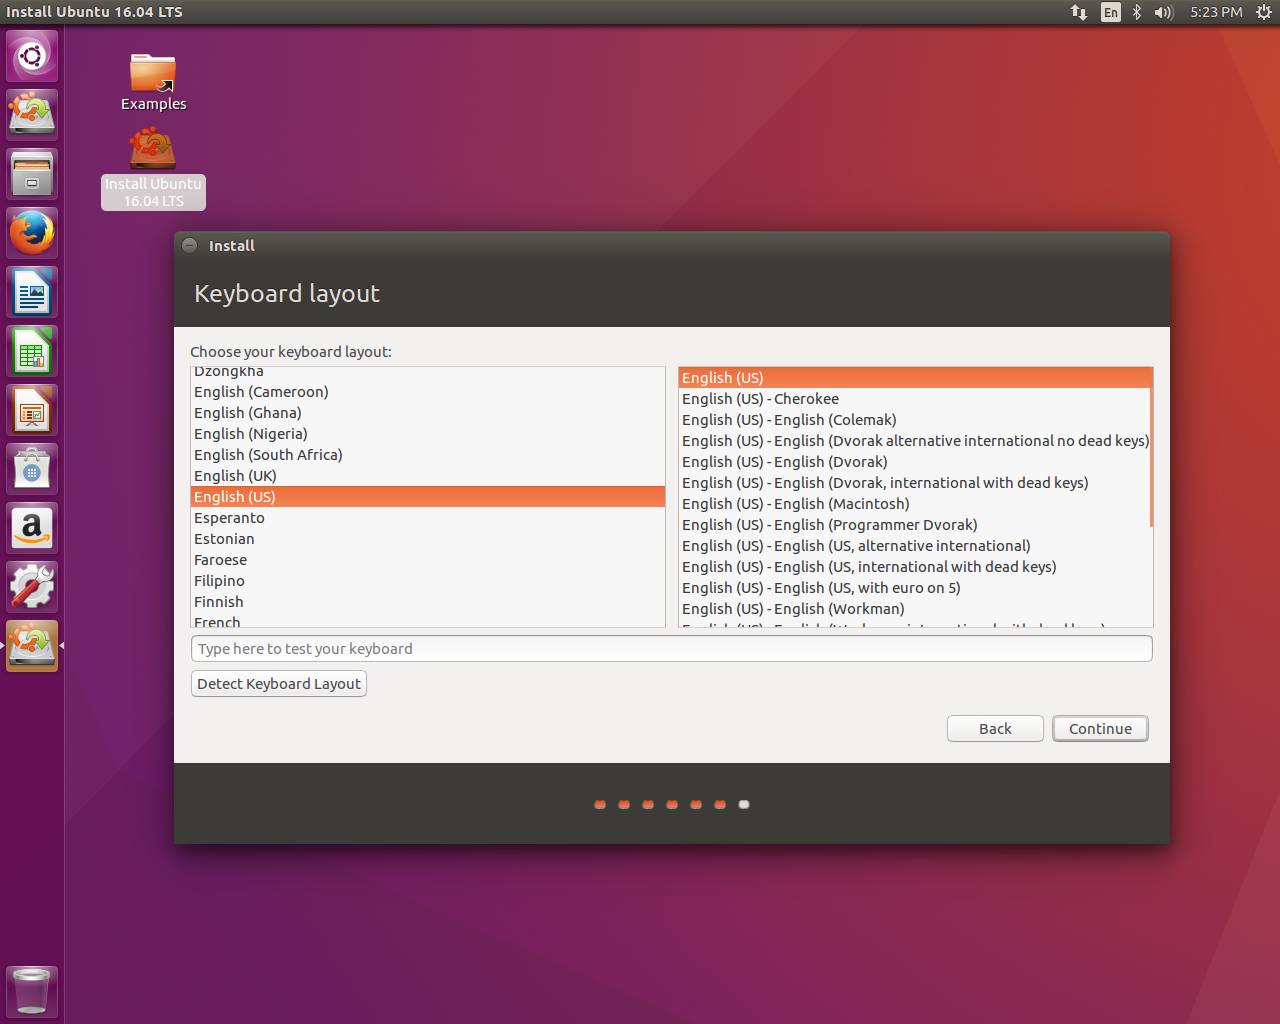
Step 9 : Choose keyboard layout and continue
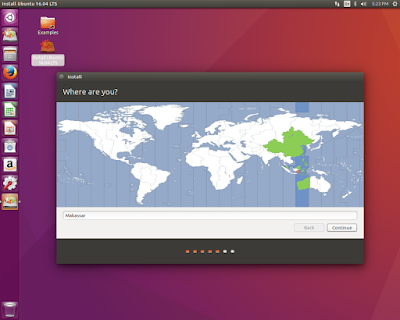
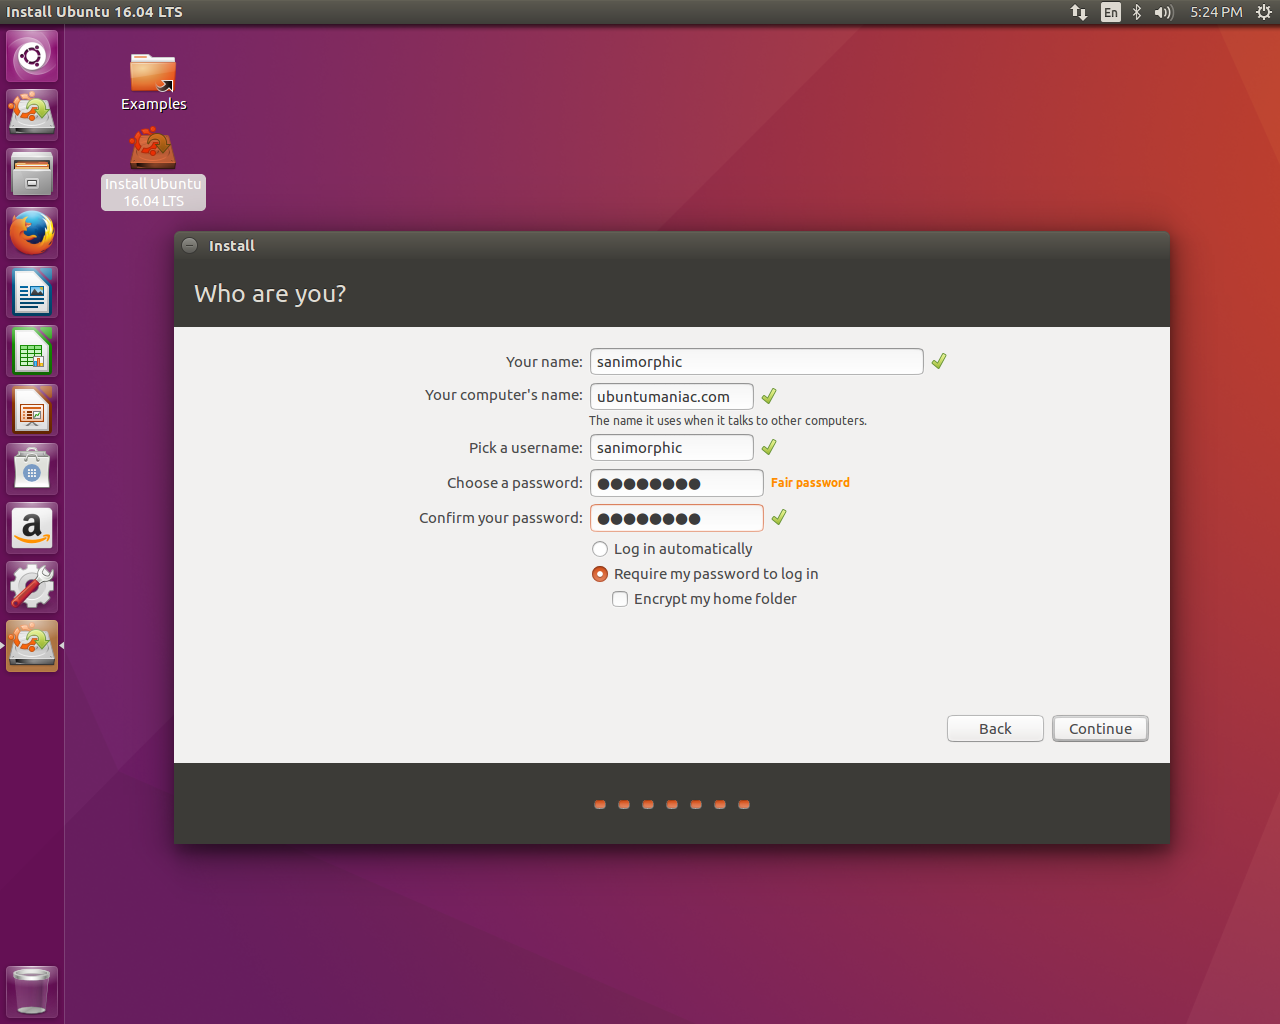
Step 10 : In this step we will define the followings :
- Define the System’s Hostname
- Define the Name of user that will be used after installation
- Define the password for the user.
- Set the option “Require my password on Log in”
And continue untill installation is completed, reboot


")


0 comments: